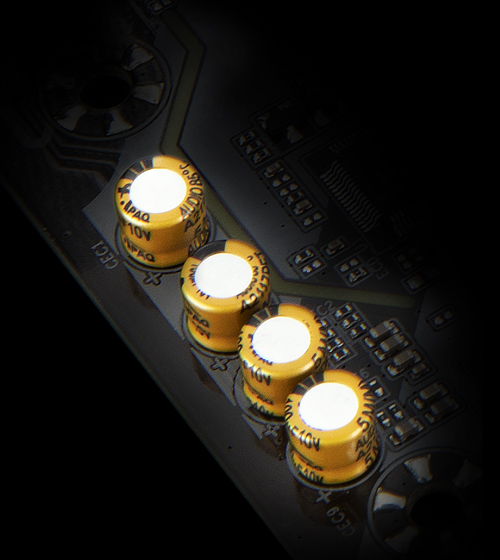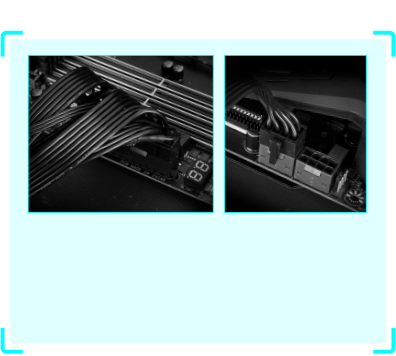
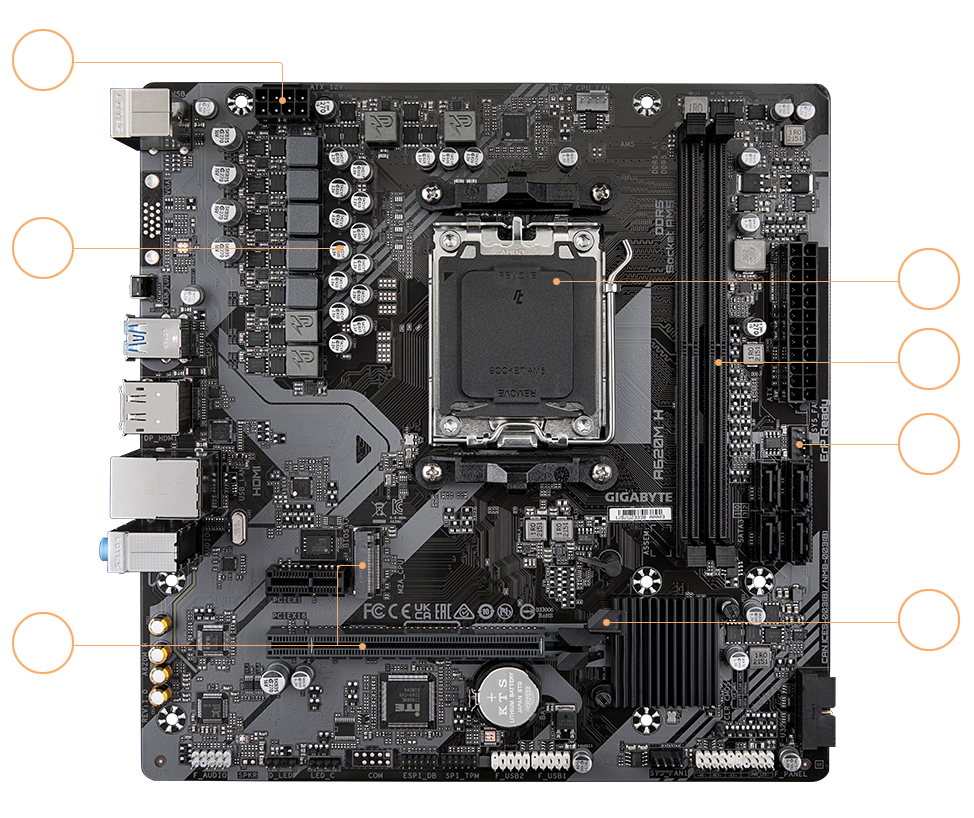

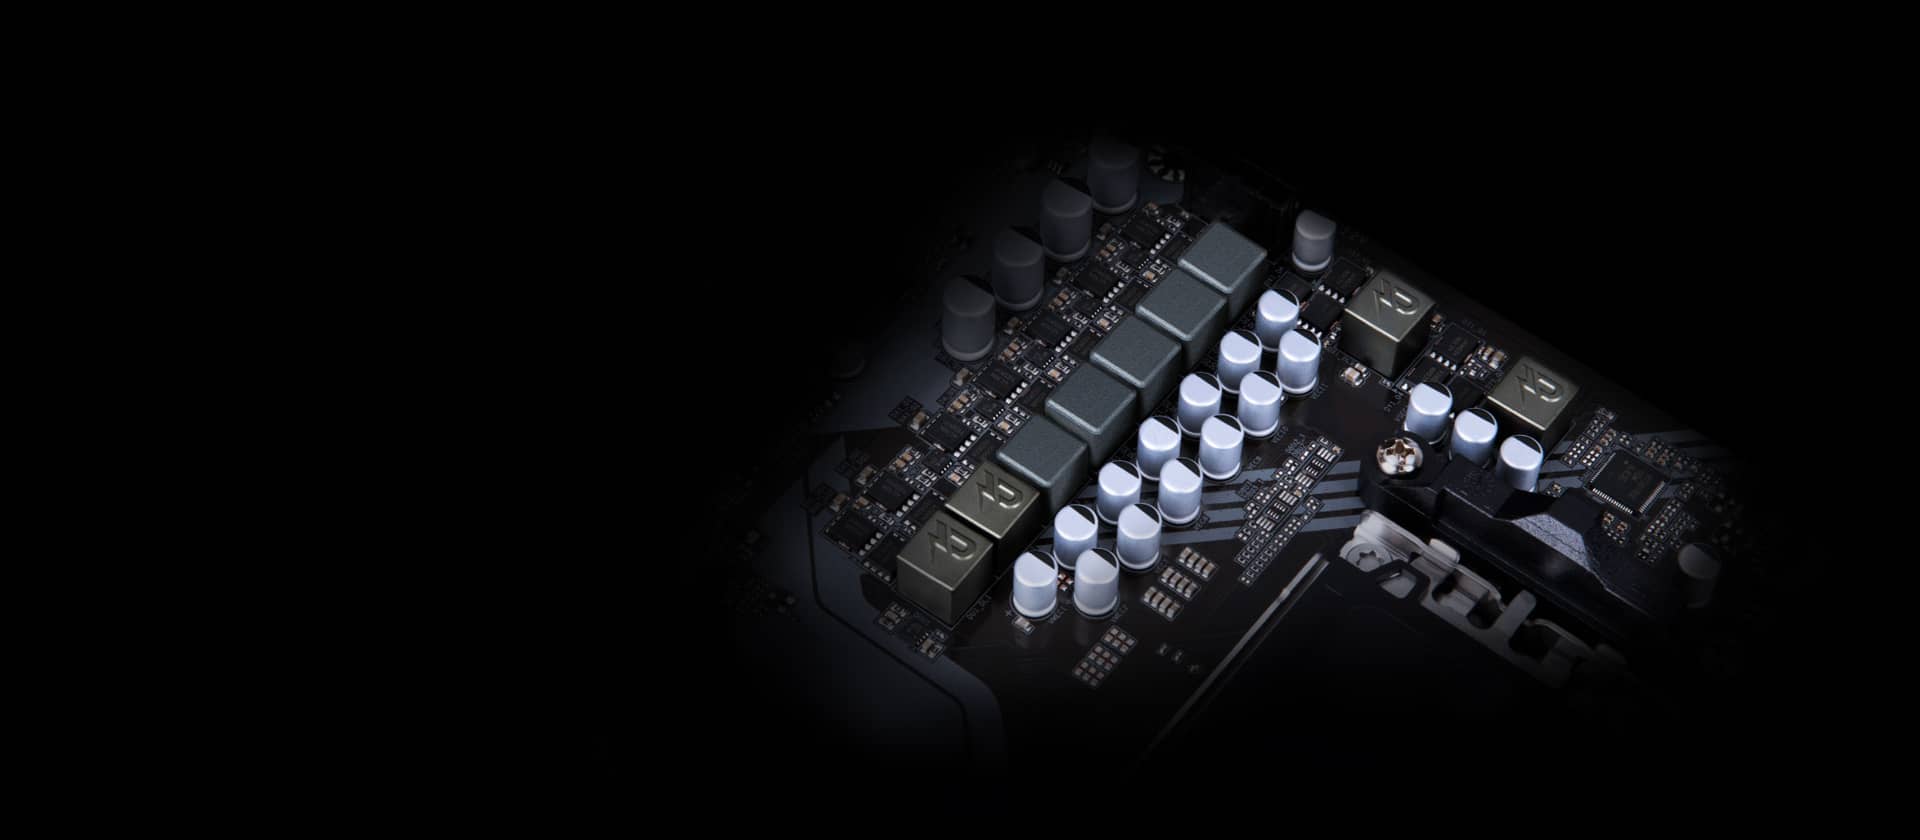
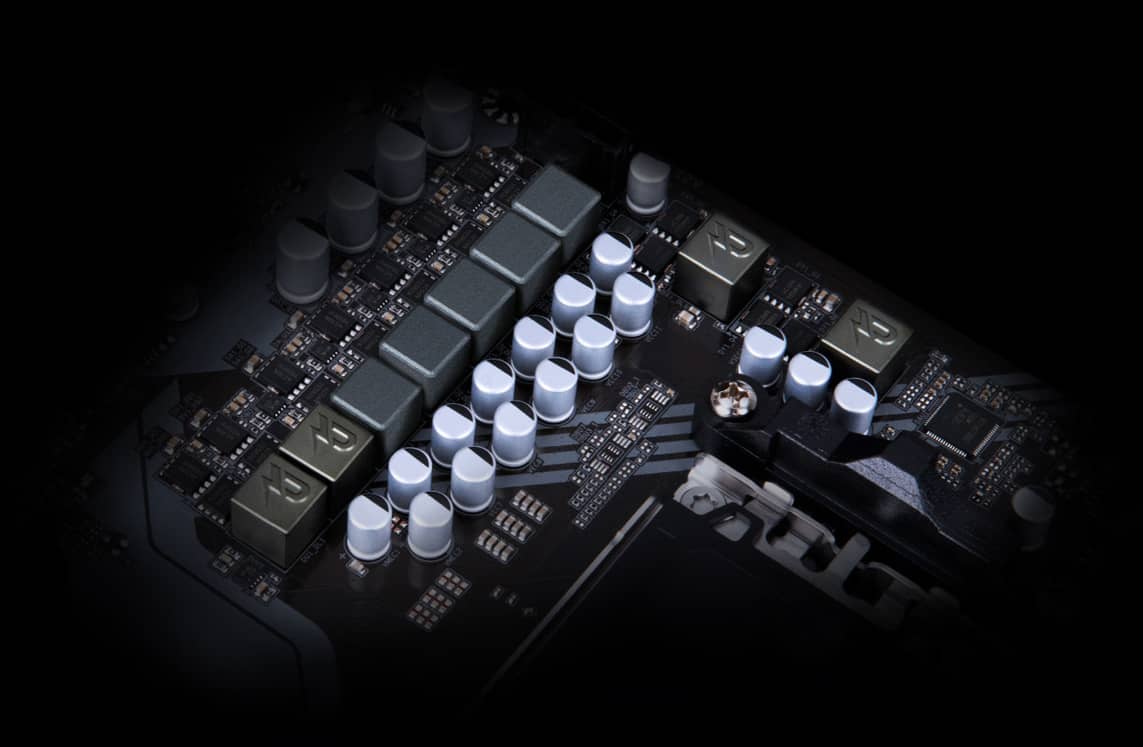
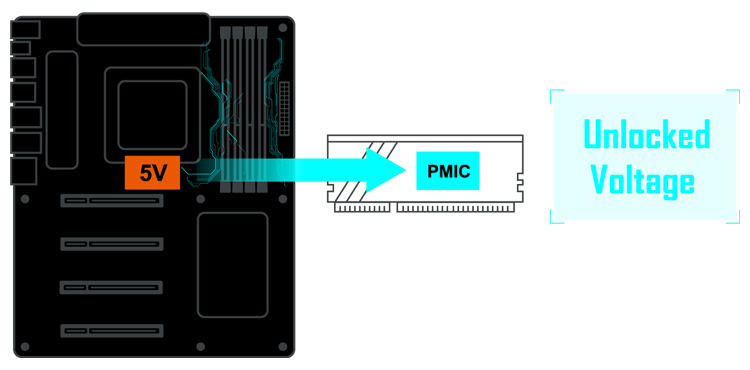
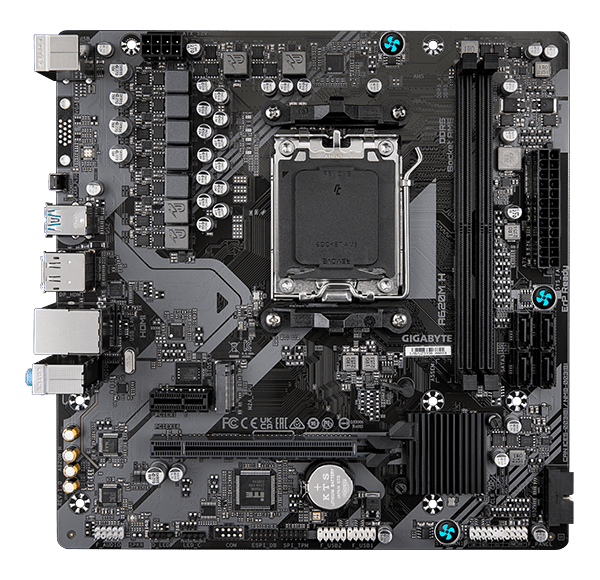
5+2+2 Phases Digital VRM Solution with Low RDS(on) MOSFETs
GIGABYTE UD series motherboards use a 5+2+2 phases digital PWM + Low RDS(on) MOSFETs design to support AMD's new generation CPU by offering incredible precision in delivering power to the motherboard's most power-hungry and energy-sensitive components as well as delivering enhanced system performance and ultimate hardware scalability.
Benefits of Low RDS(on) MOSFETs
‧ Optimized gate charge to minimize switching losses.
‧ Lower temperature, smaller size, better thermal characteristics.
‧ Lower temperature, smaller size, better thermal characteristics.


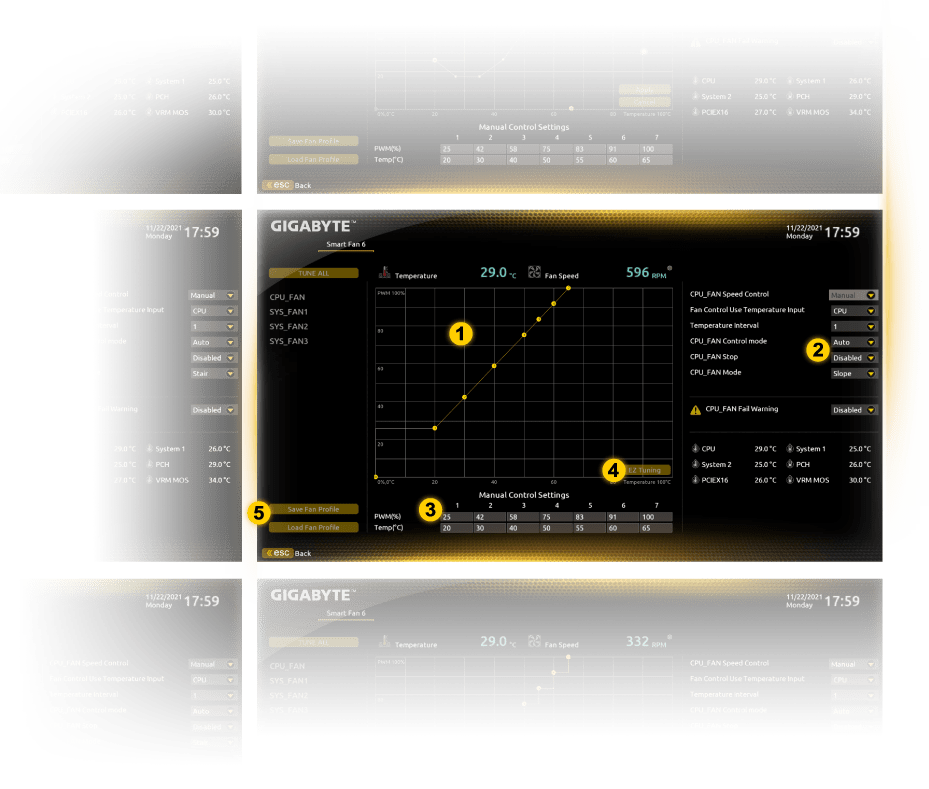
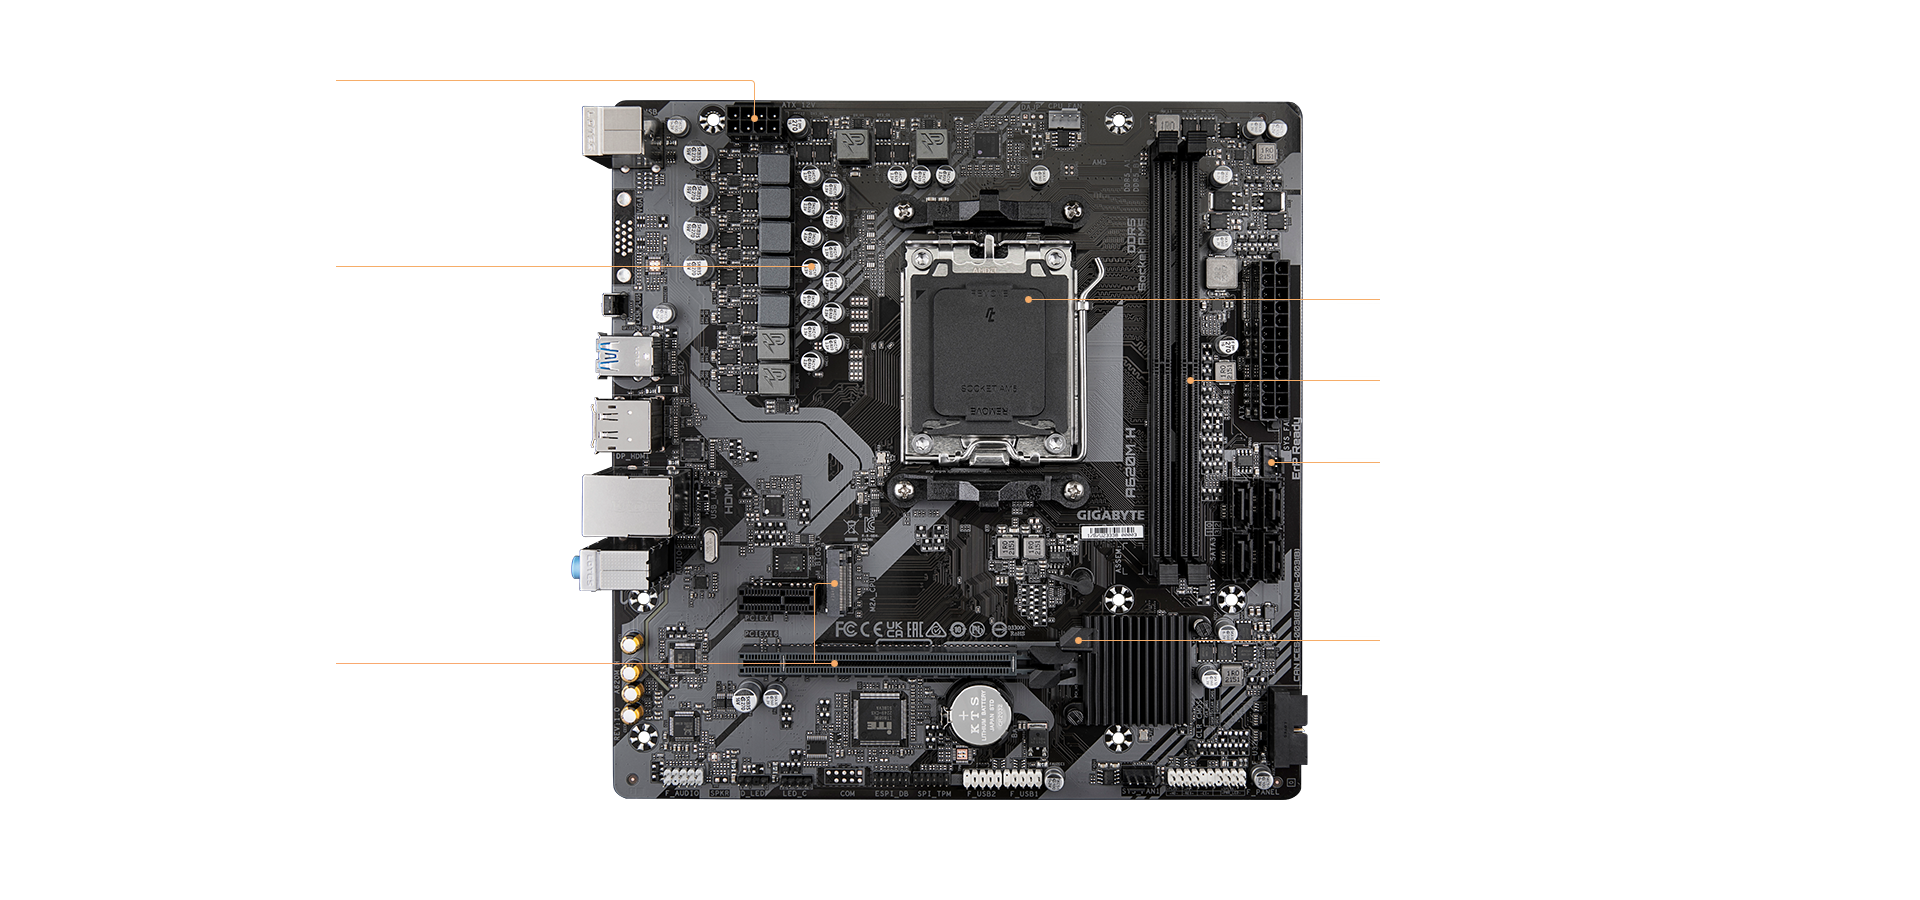
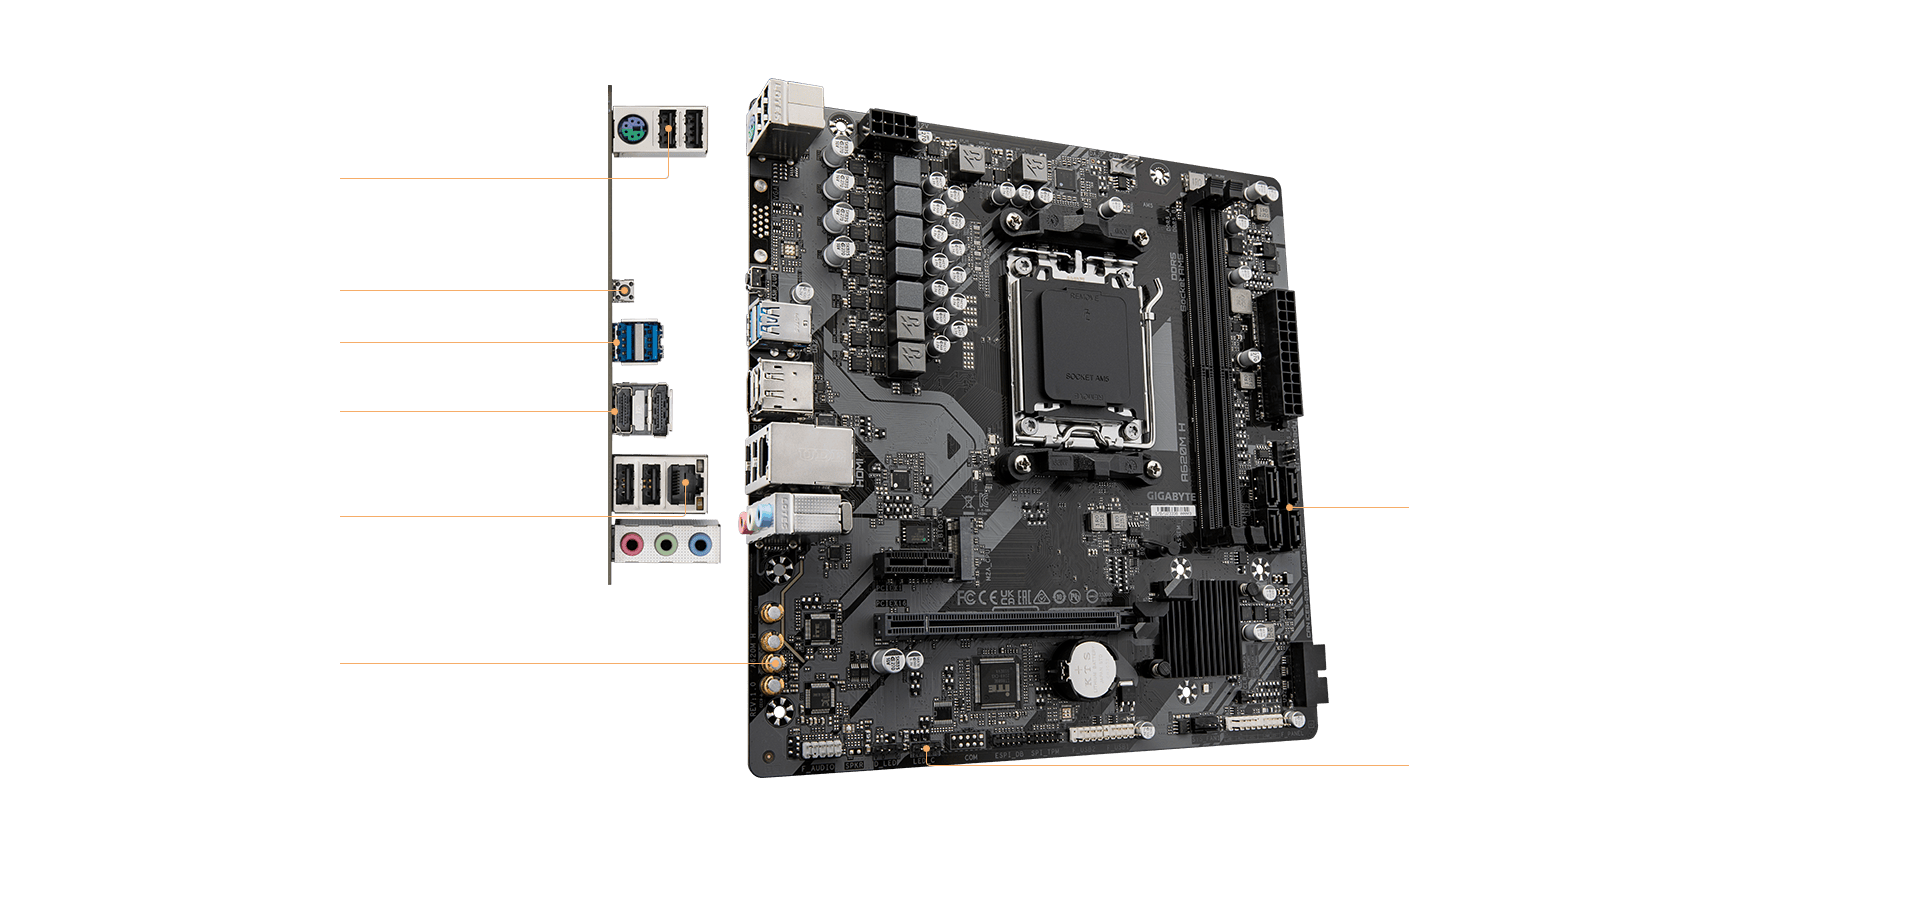
 PWM/DC Fan Headers
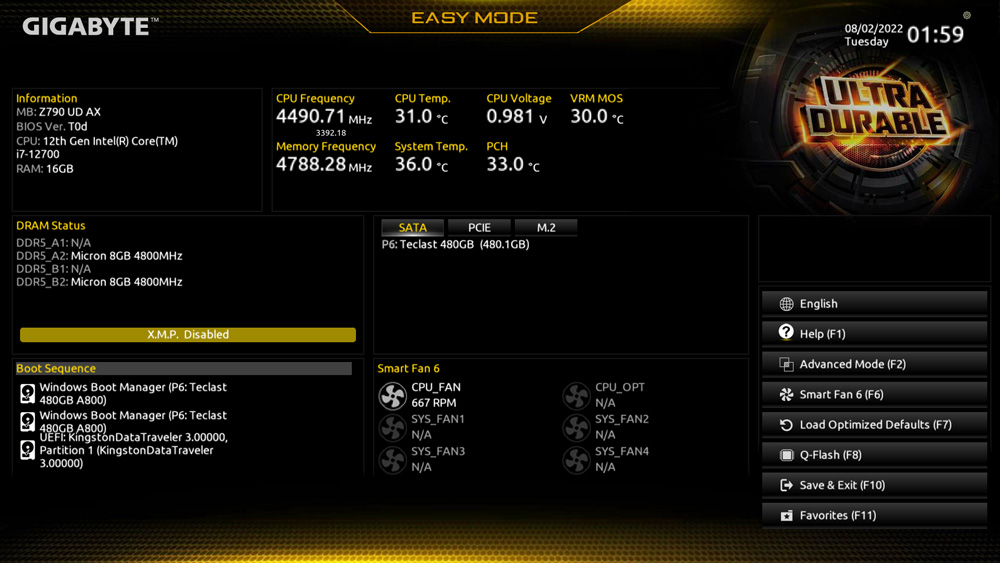
 Internal Temperature Sensors